Posts

Showing posts from 2015

Lewes and Evesham 1264-65: A Partial Review

Image
Lewes And Evesham 1264-65 (Simon de Montfort and the Barons' War) by Richard Brooks and illustrated by Graham Turner is recently released (2015) Osprey Publishing account of these campaigns and battles, referenced as Campaign 285. Eagerly awaited and immediately consumed (the Lewes part) I can now report on what it is and what it is not. Running to 96 printed pages, 40 of those pages are devoted to the Lewes campaign of 1264. Accompanied by 3 bespoke maps, two 3-dimensional 'bird's-eye-view' map illustrations and two of Turner's illustrations Including the cover above) it is a concise, detailed synopsis of events. This is also an invaluable must-have first stop. I say first stop because it many ways it is an updated rehash of much which is already known about this battle, limited to the confines of the Osprey Publishing approach. Once the preceding events of the capture of Northhampton and the siege of Rochester are dispensed with, the Lewes narrative is red

Finalised Field

Image
Well I've chipped away at this terrain project for more time than I care to reflect on but thanks to some school holiday leave with my daring daughters, I got 'some' downtime and put the finishing touches to the marshland for my Lewes table-top. This first shot was an indulgent one but just goes to show how realistic natural light in all its forms can render a model at the right time.  The next shot is the completely finished marshland. As you might make out, I edged some of my bogs with foam foliage and put a few dots of static grass at the extreme shallows. I'm not happy with the acrylic lacquer but am satisfied they look wet enough - less pools and more wet mud. This feature of the ground has in fact caused far more effort on my part than it may ever justify but if we play the game enough times, some units are bound to get driven into it. Here's what the Royalists will be looking at as they form up to advance up the slope of the Downs - rather them than

Completing the Marshes

Image
Back to my boards after a frustrating absence and a brief stint in the Pacific. I re-read over my previous posting and there have been a few 'u-turns' in my approach to these marshes. You may see the results of my attempts at brushing colour into the synthetic fur. Not at all what I had in mind but it left the terrain with that sodden, well-trodden look like a wet cow paddock. I'm actually happy with the results where I had them but ended up returning to the spray gun to colour the remainder. The reeds have been sewn into the pools by cutting crosses into the paper and foam beneath and pushing the ends through blobs of Selley's Liquid Nails. The reeds are taken from picking apart a brown fiber door mat. I just love this stuff for clumped grass, crops and reeds. Once unraveled, the fibers are bunched and double over and can be either glued as a double-clump or adjusted to an alternate length. Once glued, they paint up easily and so I gave them an uneven dark green c

To the Marshes

Image
I decided back when first carpetting the boards with synthetic fur to leave the low ground or marsh edge of the river Ouse for a different surface. I thought this becasue I wanted the 'grass level' much lower than the pastureland and the heights. After staring at it for the past two weeks and a failed experiment in dying a toweling bath-mat I came to the realisation I should have covered the entire surface and worked the pile down. Well, I've been learning as I go. The sink points have been painted in a dark undercoat which I will later wash over with browns for a muddy effect before adding the water effect using a product I have yet to determine. They will be sown with reeds. I then carpeted around the bog holes with more synthetic fur using Selley's Quick Grip . I'll be trimming the entire area quite low, particularly about the bogs. As the pile will be lower and thin, I plan to attempt painting in the same greens as the rest of the boards but rubbing or p

Synthetic Fur Completed & A Figure Test

Image
Well, all of the synthetic covered tiles are now completely painted. The first shot shows the beaten ground on which I will feature the town edge. Some sparing white is intended to indicate the chalk coming through the thin topsoil. The fully worn chalk tracks are fully painted with a generous dry-brushing of cream over which I dry-brushed stark white (two coats). I was happy to dust off to either side of the track onto the fur. This shot also includes the worn ground up to and about the windmill site. You may also note the broad bands of colour better represented in the next shot.  After posting my reference photos, I decided to hit the fields with swathes of flowers after all. Centre/left directly above the track junction you can make out the expanse of purple flowers achieved simply with a generous dry brush with a house brush. I wasn't worried about how much paint I used as any drops forming I hope will serve as representing flower heads. To the right of the last bend

Battlefield Photo References

Image
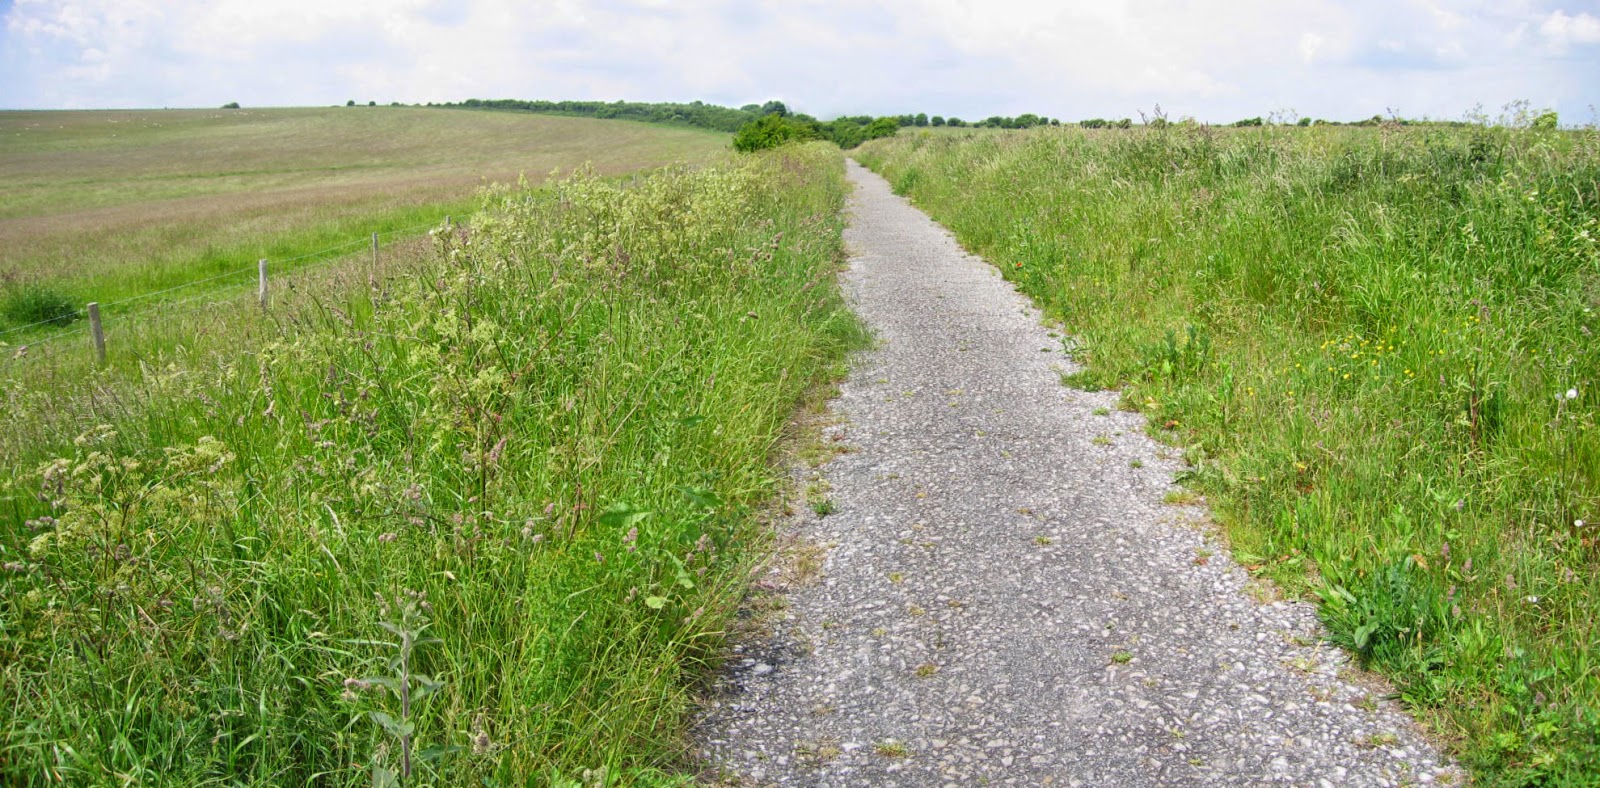
Rummaging through my boxes yesterday, I found by old back-up discs with my shots of Lewes when I walked the Downs in 2005. Could it have truly been that long ago? I took these photos with my old Canon Powershot S70 which is stitch-enabled to take panoramic shots. I copied them into my new computer drive and using Autostitch (instead of Canon Photostitch ) found I got decent results. These photos are achieved by merging two photos only - one of my central shots is too misaligned to enable a proper match - I didn't use a tripod. The first image is a view about half way up the Downs from Lewes toward the top where de Montefort's army formed up. As I interpret the battlefield to my left is the rise up which the centre and left wards of the Royal army ascended. The entire span of the approach is divided by a spine along which runs the track I walked, separating the left to wards from the Royal right flank both physically and visually. Turning to my left, we see where the K

Moving Along the Downs

Image
Third tone: a dry brush of lighter green . Talk about momentum. Got home and whilst the light was good in my back room (Autumn now) I got a three-finger width house brush and took to the boards with the third and final green 'coat'. At this stage I soon discovered not to be prissy and feel free to work the paint into the pile. Also, fingers are very good in a brisk, rubbing action to blend accidental excess into the overall green smear. Straight into it, I hit the tracks with a base coat of mid-earth brown, smearing it at first with a thick craft brush then worked it into the fabric with plenty of water. The paints reactivated with the water and I got a very pleasing ochre effect in the main. I didn't care about being too finicky as I expect the grasses to the sides will be slightly dusty in high summer. In any event the next step is a generous dry brushing of light cream and then a highlighting dry brush of white in keeping with the chalk surface. The top two shot

Progress on the Table-top

Image
I seem to have gotten a move on finally and once started am now under-way once more as you can see from the drive-way production line. These panels have been stacked on a shelf under covers for the past year-and-a-half and now are seeing the light of day. I am learning much as I go with my air-compressor and spray gun but to be honest, it's really quite straight forward though not simple. I am having much more success with this large equipment than I ever had with an air-brush - fiddly bloody things. One of my first observations is how the synthetic fur alters even after the first coat of acrylic paint. I probably could have gone for house paint - cheaper and with greater volume - but went for the matte fluid acrylic craft paints to be on the safe side for my first attempt. Even with the thinnest of coats, the acrylic tones right down to a khaki and stiffens considerably. Any ideas I might have had about flossy, springy grass has been dispelled. There will be some elasticity and

Right Tools for the Job

Image
This has been far too long in the making  or should I say assembling? Bought in December as a Christmas present to myself I just got it out of the box and yes, assembly was required. This 50 litre compressor is just what the doctor ordered and when united with my spray gun and hose, what was taking me hours was taken care of in minutes. WHAT A DELIGHT! The above is the smaller of a two gun set and once I had read and re-read the instructions, the novice engaged the device and away I went. Given that I am colouring synthetic fur there wasn't much of a technique I needed to master so with only a few seconds to see the gun was spraying satisfactorily, before I knew it I started over my panels. I am using Jo Sonja acrylic Green Oxide artists paint, which applied particularly well but is getting used up very quickly. In fact, I estimate one tube per tile and after just these two, I am out of paint. Still, whilst I have stalled yet again until I revisit the store to buy up what